


Utility closet makeover | Small house storage solutions (closet organization on a budget!)
- Consider it all Joy

- Jan 26, 2020
- 3 min read
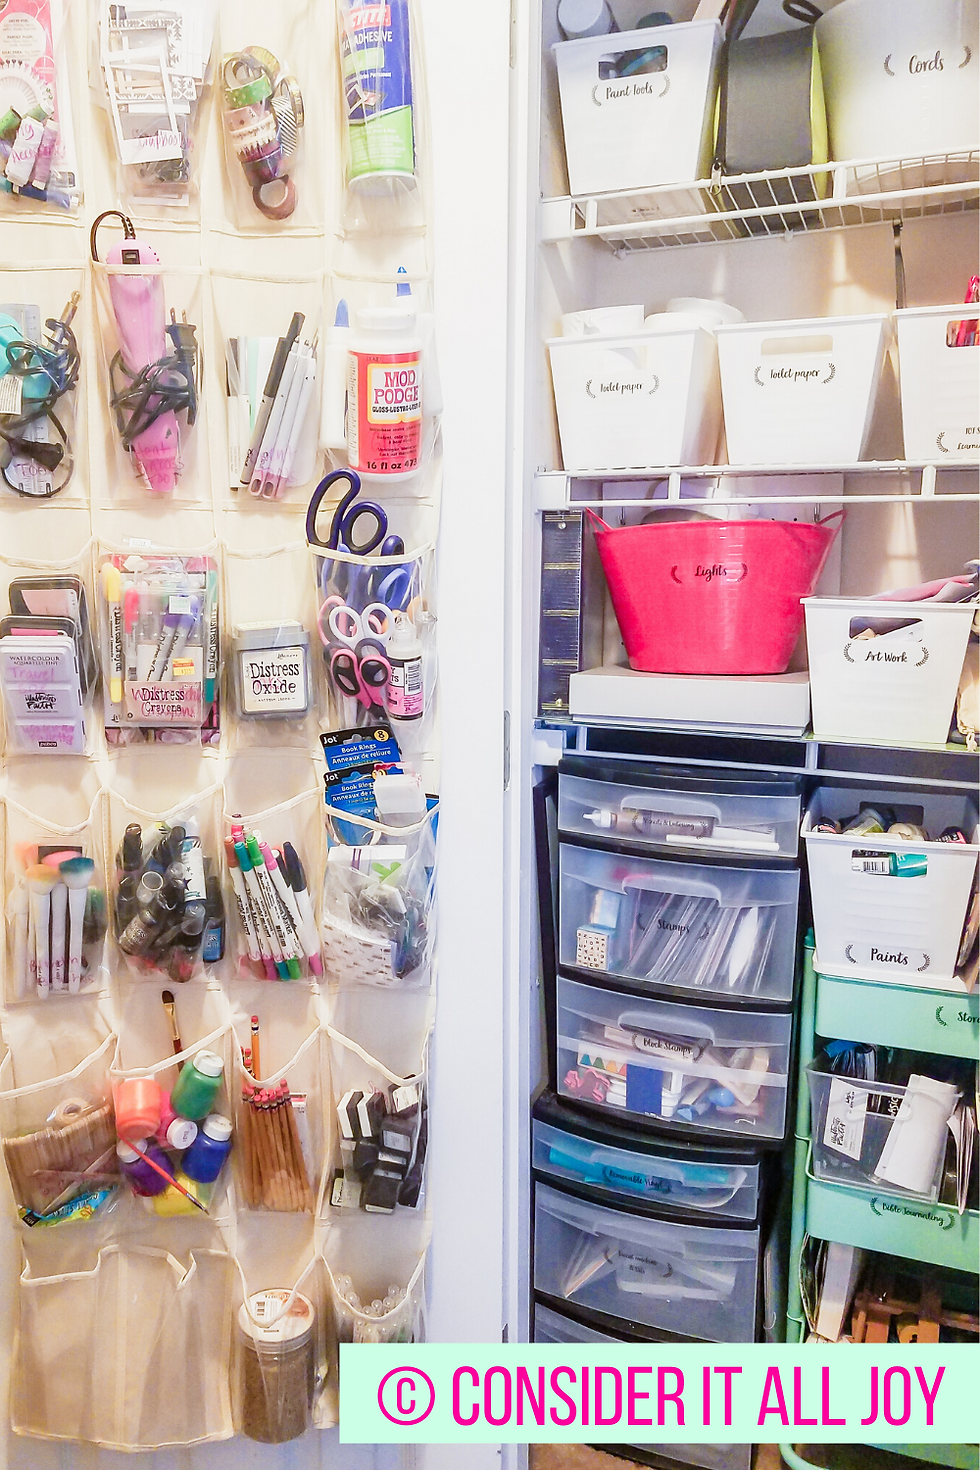
Tired of your utility (hallway) closet being full of junk? Want to organize it but not sure where to start? Below are some simple & practical tips to get your utility (hallway) closet organized!
Step 1: How do you want to use your space?
Figure out what things you want to store in this area- pick 3-4 things you know will make the most use out of this space. I personally, wanted to have my former utility closet (hallway closet) be a space to store my arts & crafts, my tot school educational resources, toilet paper and some small power tools that get used on the regular basis. Previous to organizing my hallway closet to have it store all of my arts & crafts supplies, I had a whole spare bedroom as a craft room that had way more clutter in it- it was making me feel very stressful!
I was determined to have all of my arts & crafts be consolidated into my one small hallway closet (former utility closet). I knew I wanted to keep my art bins and cart so I had brainstorm ideas how to best make them all fit into this small closet.
Step 2: How do you want your space to look?
Look at your space, what do you desire to see when you look at it? How do you want it to make you feel? I desired to see this space clutter free and organized. I also, wanted to feel happy, fresh and bright when I looked at my closet!
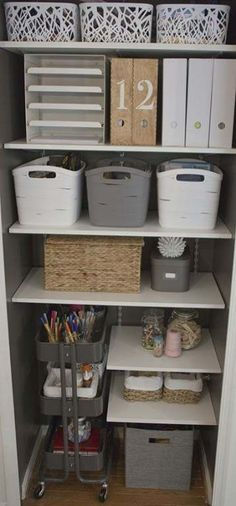
Once, I narrowed down what I wanted to store in this closet, I started to look on Pinterest for inspiration on how I wanted my closet to look. Now, it may sound silly because no one may see this closet but I like having a theme (color or style). I believe it helps to have a visually appealing place of storage. This way you stay motivated to keep it pretty and organized.
The best storage bins are of course from the Dollar Tree. I used 8 bins in total, which was an $8 dollar clutter free investment. I went for the white color because it is bright and fresh color, which is what I want to feel when I see this closet. This closet now looks like it has a purpose and style.
Photo credit: Pinterest
Step 3:How can I rearrange my space to fit my needs?

Look at your closet, what do you need to add or remove in order to maximize this space to fit your needs.
In my case, I need to remove the bottom shelving of my closet to make room for my art bins and art cart.
Step 4: What can I sell, donate or trash out?
Once, everything has been cleared out from your closet space- take a hard look at everything and evaluate what you have not used in 6 months to the year. If you see something that you forgot you had and are tempted to think that you may use it at some point, chances are it will remain unused. You've already lived without it for X amount of time that it's been in storage - just donate it or throw it away. credit: Pinterest / InTheNewHouseDesigns
Step 5: How do I create zones?
Creating zones helps a lot to maintaining a space organized, use some Dollar Tree sticker labels or if you want to get a little fancy- create your own custom labels (watch video to see how I made mine). I did mine a little simple but I love the font, very farmhouse.
Step 6: How do I maintain this space organized?
And you're done, now what? Now you maintain it! To help keep this space organized and clutter free- make it a routine check-up every 1-3 months just to tidy up the space if it does start to look unorganized.


Comments